
The Webform module allows you to build any type of form to collect any type of data, which can be submitted to any application or system. Every single behavior and aspect of your forms and their inputs are customizable. Whether you need a multi-page form containing a multi-column input layout with conditional logic or a simple contact form that pushes data to a site admin/manager, Webform puts the power of collecting that info in to the palm of your hands.
To access your Webforms, please do the following:
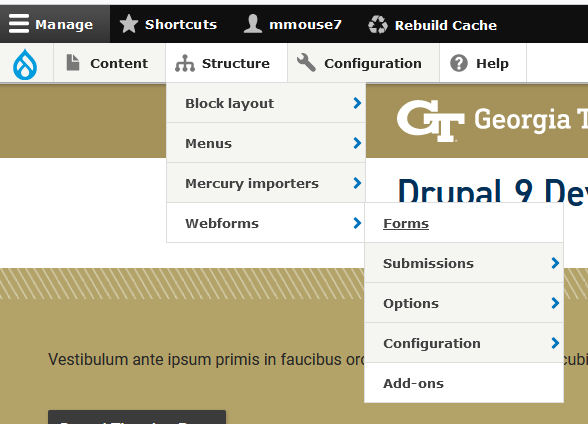
Webforms - Step 1
Go to Structure -> Webforms -> Forms
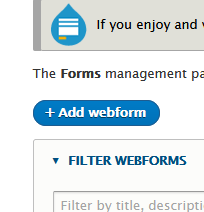
Webforms - Step 2
Click the Add Webform button
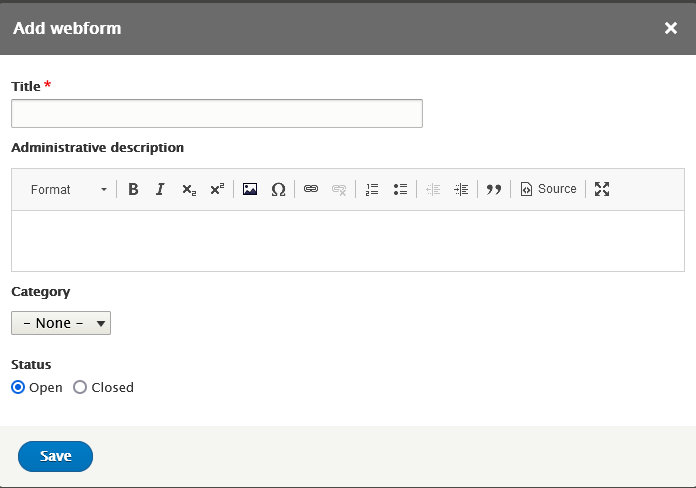
Webforms - Step 3
Give your Webform a title, click Save
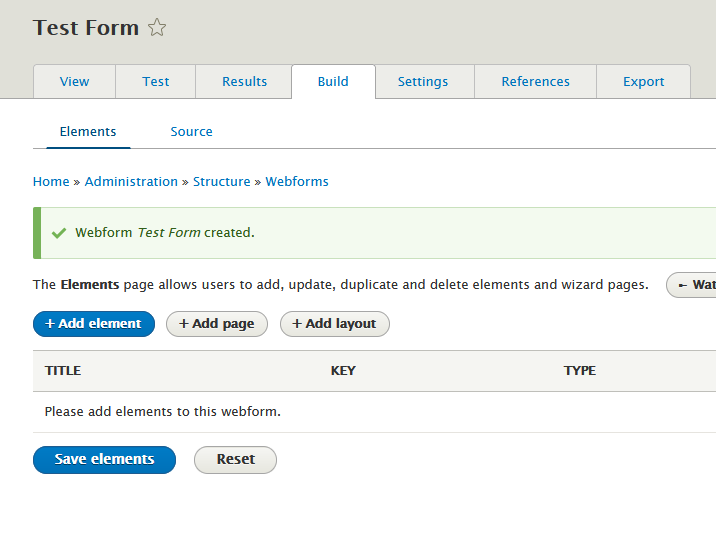
Webforms - Step 4
Click the Add Element button.
Webforms - Step 5
This will bring up the following window. From here you can select what element you would like to have on your form. For this example, I will use the Text Field. To place the Text Field in the form, click on the Add Element button that corresponds to it.
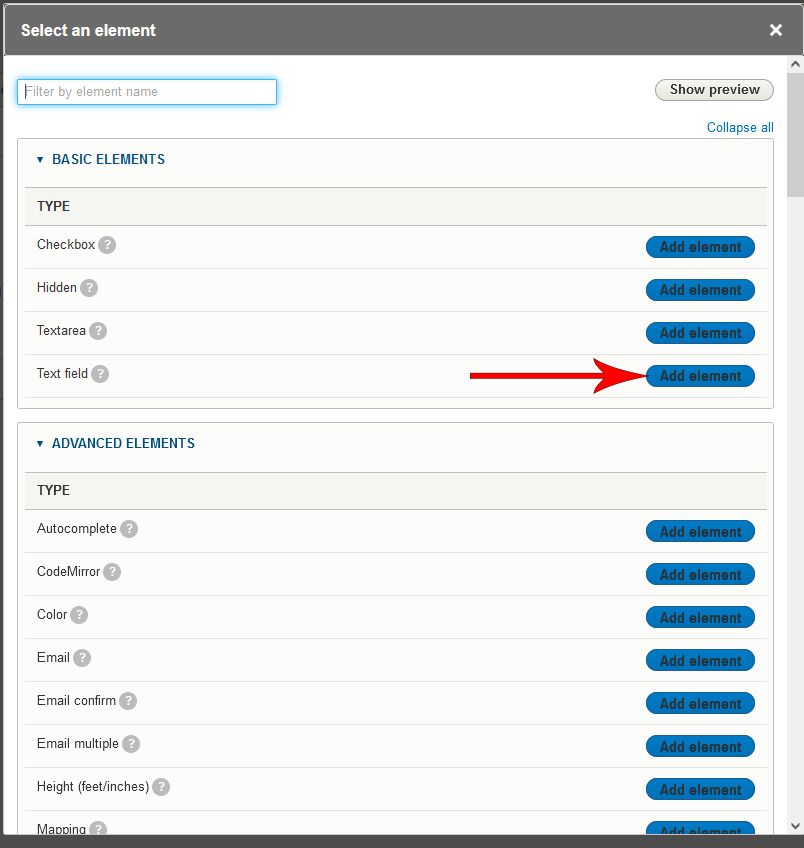
Webforms - Step 6
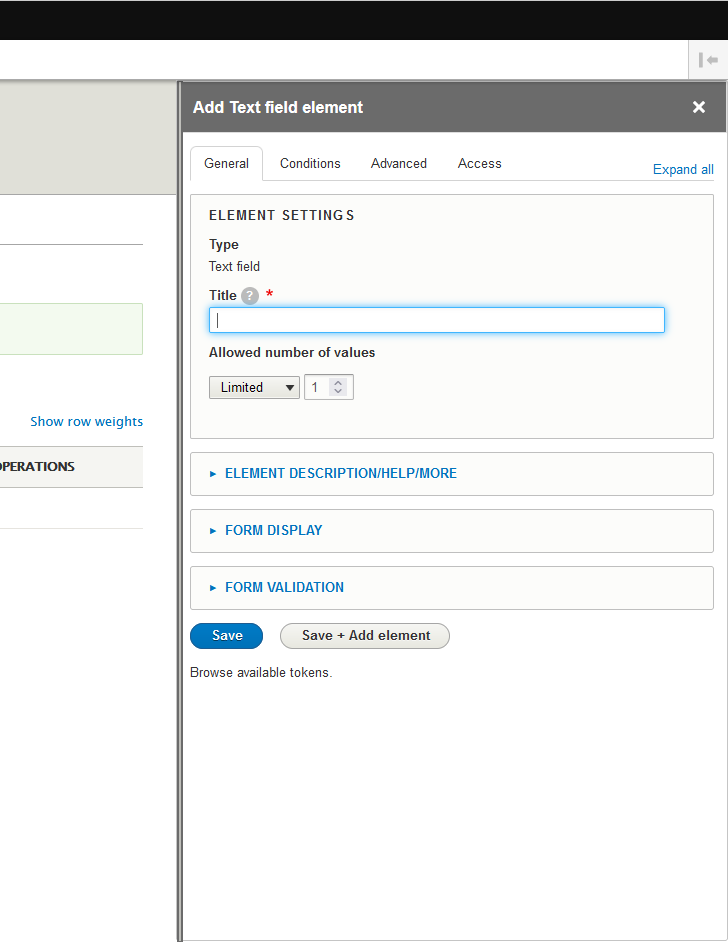
This will bring up a panel on the right-hand side of the page. From here you can customize the information for the element you are placing on your form. Click the blue Save button at the bottom when you are finished.
There are dozens of elements available, unfortunately too many to cover in an introductory tutorial. To see first hand on how to get started creating a Webform, please take a moment to view the video tutorial, “Drupal 9 Tutorial 5-Webforms”. For more comprehensive tutorials on using various elements in Webforms, you can view the following series of tutorials here (the video series is Drupal 8 based but the instructions shown are transparent to Drupal 9).
Video Tutorial
For more detailed instructions, view the video tutorial below!